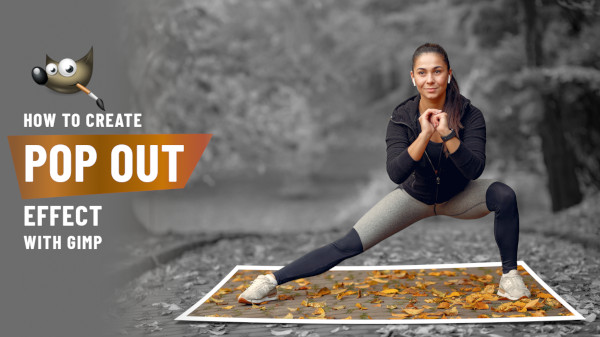
This video tutorial is excellent for new users or anyone interested in GIMP 2.10.22. This is an easy step-by-step tutorial where we show you how to remove the background of an image, and how to create a Pop Out effect with Gimp. We will use the Paths Tool to cut out the background around the model and to draw out the shape for the photo effect of the autumn leaves.
Don’t worry if you’ve never tried something like this before — we’ll go nice and slow so you can follow along without feeling lost. By the end of this tutorial, you’ll not only know how to make your images stand out with a fun 3D-like look, but you’ll also feel more confident using some of GIMP’s most powerful tools.
Grab a cup of coffee (or tea!), open up GIMP, and let’s have some fun creating this cool photo effect together. Whether you’re just experimenting or looking to level up your editing skills, you’re in the right place.
Give this fun little trick a try and see how easy it is to make your photos pop! Once you get the hang of it, play around with other pictures too — you’ll be surprised at how many cool effects you can create with just a few simple steps in GIMP.
Tip: try it out on a travel photo, a picture of your pet, or even a portrait of a friend — the pop out effect works great with all kinds of images!
Follow along with the video, you can download the image from here. Enjoy!
